
Walk into any store and watch where people’s hands actually go. It’s rarely the products buried on a mid-shelf between twenty similar boxes. It’s the item sitting in its own little stage — a counter display, an end-cap, a floor unit — that got pulled out of the crowd before the customer even decided to look.
That’s the entire job of a custom display box: get noticed first, get picked up second, get bought third. Everything else — the cardboard grade, the print finish, the size — is just the mechanics behind that one goal.
If you’re trying to figure out which type makes sense for your product, this guide walks through the real options, what they cost you in space and money, and how to avoid the sizing and material mistakes that quietly kill conversion.
What Is a Custom Display Box, Exactly?
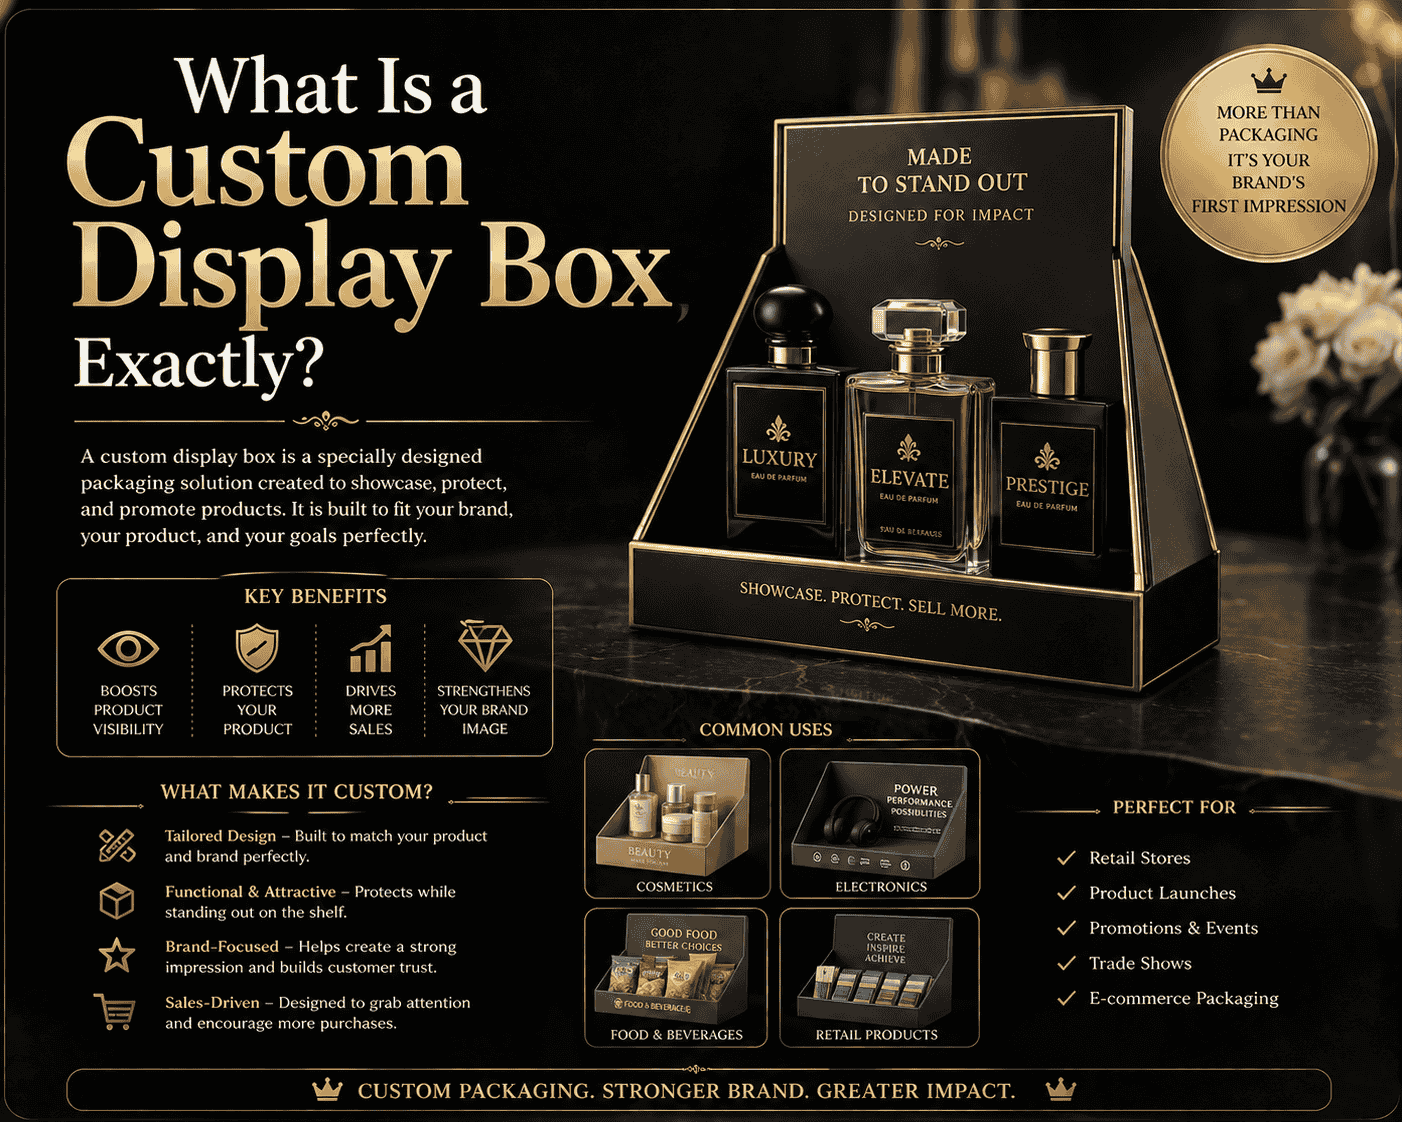
A display box is packaging built to hold a product and present it at the same time — usually right on a shelf, counter, or aisle end, with no extra fixture needed. It’s different from a shipping carton in one key way: a shipping carton is designed to protect a product between a warehouse and a store. A display box is designed to sell the product once it gets there.
Most display boxes are secondary packaging — they hold several already-packaged units together (think a countertop box full of individually wrapped lip balms) rather than wrapping a single item directly. That’s part of what makes them efficient: retailers can drop the whole unit straight onto a shelf or counter without unboxing and re-shelving each piece by hand.
Why Display Boxes Actually Move Product
The short version: most retail buying isn’t planned. A large share of purchases in categories like snacks, beauty, and impulse-priced goods happen in the moment, at the shelf, based on what catches the eye first. A display box that stands taller, opens wider, or uses color more aggressively than its neighbors gets that first glance — and the first glance is most of the battle.
There’s also a practical side retailers care about as much as shoppers do:
- Faster restocking. A pre-built display tray gets placed on the shelf as one unit instead of dozens of loose items.
- Better shelf discipline. Products stay upright, faced forward, and in their intended grouping instead of sliding around.
- Built-in theft resistance. Tiered and windowed designs make it obvious when something’s missing.
- A branding surface retailers don’t have to pay for. Every display box is free advertising real estate for as long as it sits on the floor.
The Main Types of Custom Display Boxes
Not every display format fits every product. Here’s how the common types break down.
Counter Display Boxes Small, sit-on-the-counter units placed near the register — the classic home for gum, mints, batteries, travel-size cosmetics, and anything priced low enough to be a grab-and-go add-on. Because checkout is where a customer is already committed to buying something, counter displays convert on pure convenience.
Floor Display Boxes (PDQ / Standee Displays) Larger, freestanding units that hold significantly more stock and stand directly on the floor, often at an aisle end or in an open promotional zone. These work well for seasonal pushes, new product launches, or anything you want visible from a distance rather than only up close.
Pallet Displays Built directly onto a shipping pallet, these skip a repacking step entirely — the unit ships from the warehouse and becomes the in-store display with no extra handling. Best for high-volume, big-box retail environments.
Window Display Boxes A die-cut or acetate window lets the product show through the packaging itself. Useful when the product’s appearance is the selling point — food, cosmetics, collectibles — and a printed image on the box just isn’t as convincing as the real thing.
Dump Bins Open-top bins designed for a loose, “pile of deals” presentation. They work because they signal a bargain visually, even before a customer reads a price tag.
Gable and Tent-Style Displays Smaller, often single-product formats with an angled or peaked top that self-faces the product toward the customer. Common for single-item impulse buys near end caps.
Materials: What to Actually Use
| Material | Best for | Trade-off |
| Corrugated cardboard | Floor displays, pallet displays, anything bulk or heavy | Strong and cheap, but less premium-looking without extra finishing |
| Standard cardboard/paperboard | Counter boxes, lightweight items | Affordable, but not built for heavy loads |
| Rigid board | Cosmetics, electronics, gift-tier products | Premium look and feel, but higher cost per unit |
| Kraft board | Brands leaning into a natural, eco-forward look | On-trend visually, moderate durability |
If sustainability is part of your brand story, corrugated and kraft options are both widely recyclable and available with recycled content — worth stating explicitly on the box itself, since shoppers do read for it.
Design Choices That Actually Affect Sales

A well-built display box in a boring layout still underperforms. A few things matter more than people expect:
- Contrast over clutter. One bold color choice against a clean background outperforms five colors competing for attention.
- Windows where the product photographs well. If a printed image of your product looks better than the product itself, skip the window and go with strong photography instead.
- Readable branding from a few feet away, not just up close — most display boxes are first seen from a distance, not while being held.
- A clear “what is this” moment. If a shopper needs more than two seconds to understand the product category, the design has failed regardless of how nice it looks.
- Sizing that matches the shelf or counter it’s going on — an oversized unit gets pulled by a store manager before it ever meets a customer.
Getting the Sizing Right
There’s no universal size — dimensions should follow the product and the retail environment it’s going into, not a generic template. That said, a few reference points help when briefing a manufacturer:
- Counter displays typically stay compact enough to sit within a few inches to about a foot in height, since counter space is limited and shared with other displays.
- Floor displays commonly run in the range of roughly 20–24 inches wide and 4–5 feet tall, matching typical aisle-end footprints — though this varies by retailer.
- Always confirm exact footprint limits with the retailer before finalizing dimensions. A display that’s an inch too wide for an end-cap slot gets rejected, not squeezed in.
Common Mistakes Worth Avoiding
- Designing for the product shot, not the shelf. A mockup that looks great in isolation can disappear next to competitors in a real aisle. Test it against a busy shelf photo, not a white background.
- Skipping structural testing. A display that looks fine empty can sag or buckle once it’s actually loaded and stacked.
- Ignoring restock ease. If store staff find a display awkward to refill, it quietly gets pulled from the floor.
- Over-designing counter displays. Small units get seen for a second or two — a busy design just adds noise at that size.