Most brands treat packaging as an afterthought — something that shows up after the “real” marketing decisions are made. That’s a mistake. Every box that leaves your warehouse is a piece of media your customer is guaranteed to look at, hold, and photograph. Used well, custom packaging boxes aren’t just containers for a sales campaign — they are the campaign.
This guide breaks down exactly how to turn packaging into a measurable sales driver, what mistakes to avoid, and how to plan a launch that doesn’t blow your budget.
Why Packaging Belongs in Your Sales Strategy, Not Just Your Supply Chain
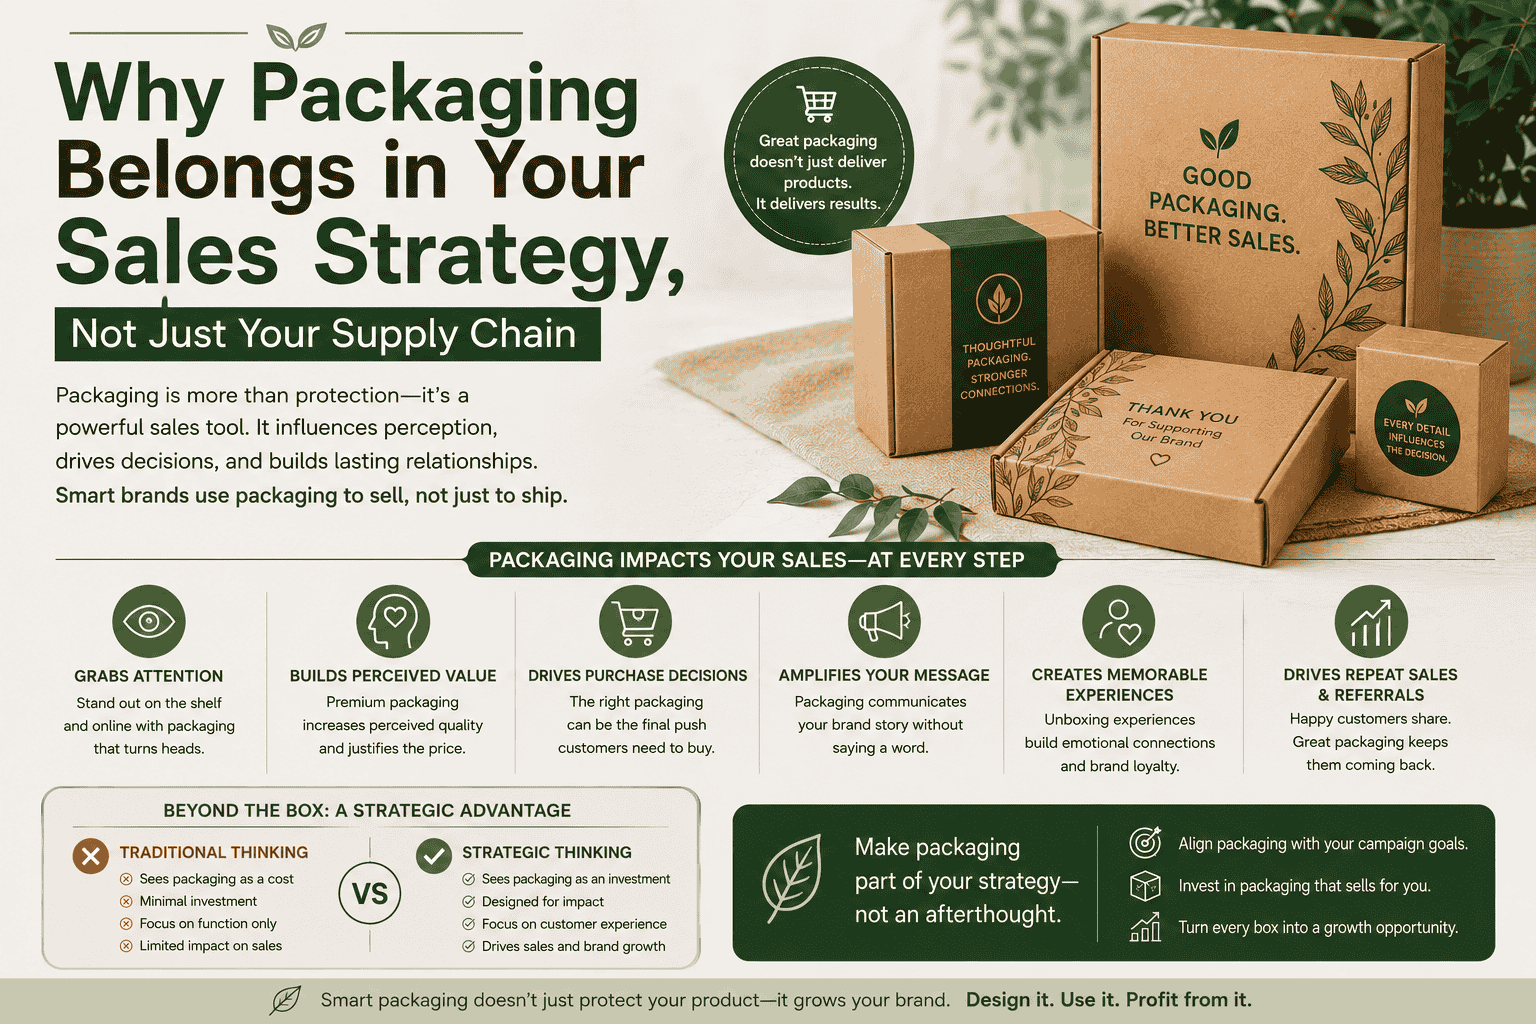
Unboxing content routinely outperforms other product video formats on social platforms, largely because it feels authentic rather than scripted — a viewer is watching a real reaction, not an ad. That single fact changes how packaging should be planned: it’s not a shipping cost line item, it’s earned media.
Three reasons packaging directly affects sales:
- It’s the last impression before the review. A customer decides how they feel about your brand in the seconds after opening the box — before they’ve even used the product.
- It’s shareable by default. A well-designed box gets photographed and posted without you paying for the placement.
- It reduces return-driven revenue loss. Clear, well-labeled packaging sets accurate expectations, which correlates with fewer “not as described” returns.
Step 1: Define What the Campaign Needs to Achieve
Before picking box styles or finishes, get specific about the goal. A packaging refresh for a holiday flash sale needs different design decisions than a packaging update meant to reduce return rates or launch a new product line. Common campaign goals include:
- Driving repeat purchases through inserts, discount codes, or loyalty prompts
- Increasing social shares via unboxing-friendly design
- Differentiating from a specific competitor on retail shelves
- Supporting a limited-time promotion or seasonal drop
- Reinforcing sustainability positioning to eco-conscious buyers
Pick one primary goal. Trying to optimize packaging for everything at once usually means it does nothing particularly well.
Step 2: Match the Box Type to the Product and the Moment
Different categories call for different structures — this is where a lot of campaigns lose money by defaulting to a generic box style instead of one suited to the product and the sales channel.
| Use case | Better-suited packaging |
| E-commerce shipping | Corrugated mailer boxes — lightweight, protective, cost-efficient at volume |
| Retail shelf display | Rigid or window boxes that let the product sell itself visually |
| Gifting / seasonal campaigns | Magnetic-closure or sleeve-style boxes with premium finishing |
| Food and beverage promos | Grease-resistant, food-safe corrugated or kraft options |
| Sustainability-led campaigns | Uncoated kraft or recycled board, minimal ink coverage |
The right structural choice isn’t about looking expensive — it’s about matching the unboxing moment your customer will actually have.
Step 3: Design for the Photo, Not Just the Shelf
A box that looks fine in a warehouse photo can fall flat in a customer’s hands. When designing for a sales campaign specifically, prioritize:
- A strong first 3 seconds. The exterior needs one clear focal point — logo, tagline, or color block — visible even in a thumbnail-sized social post.
- Interior surprise. Printed interior flaps, tissue paper, or a handwritten-style thank-you note cost very little but consistently show up in customer-generated content.
- Legible, on-brand typography. Ornate fonts that look good in a design mockup often become unreadable once printed at small scale on kraft or matte stock.
- One clear call to action. A QR code to a loyalty program, a discount code for the next order, or a hashtag prompt — pick one, not all three.
Step 4: Build the Campaign Timeline Around Production Reality
Custom packaging isn’t instant — die lines, proofs, and print runs take real time, and this is the step most sales campaigns underestimate. A realistic runway looks like:
- 4–6 weeks out: Finalize design, structural die line, and get a physical or 3D proof approved
- 2–3 weeks out: Confirm print run, get final samples, plan inventory receiving
- 1 week out: Stage packaging with fulfillment team, brief customer service on any new unboxing elements
- Launch week: Monitor social mentions and returns data tied to the new packaging
Ordering later than four weeks out for a custom run is one of the most common reasons campaigns launch with generic packaging instead of the custom design that was actually planned.
Step 5: Track Whether the Packaging Actually Moved the Needle
Packaging spend should be measured like any other campaign line item. Useful signals to track:
- Change in unboxing/UGC mentions after the new packaging ships
- Return rate before vs. after a packaging or labeling update
- Repeat purchase rate among customers who received the new packaging vs. the old
- Redemption rate on any in-box promo code or QR code
If none of these move, the packaging change didn’t function as a sales tool — it was just a cost.
Common Mistakes That Undercut a Packaging-Led Campaign
- Over-designing the outside, under-designing the inside. Interior details are what get filmed.
- Skipping a physical proof. Colors and finishes shift between screen and print far more than most teams expect.
- Choosing finishes the product can’t support. Glossy UV coating on a food box, for example, can conflict with food-safe requirements.
- No clear CTA in the box. A great unboxing experience with no next step wastes the moment you paid to create.
- Treating packaging as one-size-fits-all. Retail, e-commerce, and gifting each need different structural and design decisions, not the same box relabeled.
The Bottom Line
A sales campaign built around custom packaging boxes works when the box is designed backward from a specific goal — more shares, fewer returns, more repeat orders — rather than forward from “what looks nice.” Get the structure right for the product, design for the moment someone opens it, and build in enough production lead time to actually execute the plan you made.