How to Customize a Tote Bag? Read This Blog!
A plain canvas tote costs almost nothing to make and almost nothing to notice. The moment you add a print, a stitched logo, or a bold color block, it turns into something people actually carry around town—which is free advertising every time they do. But “customize a tote bag” means different things depending on whether you’re printing one shirt for a birthday or ordering 2,000 units for a product launch, and most guides online don’t separate the two. This one does.
Step 1: Decide What the Bag Actually Needs to Survive
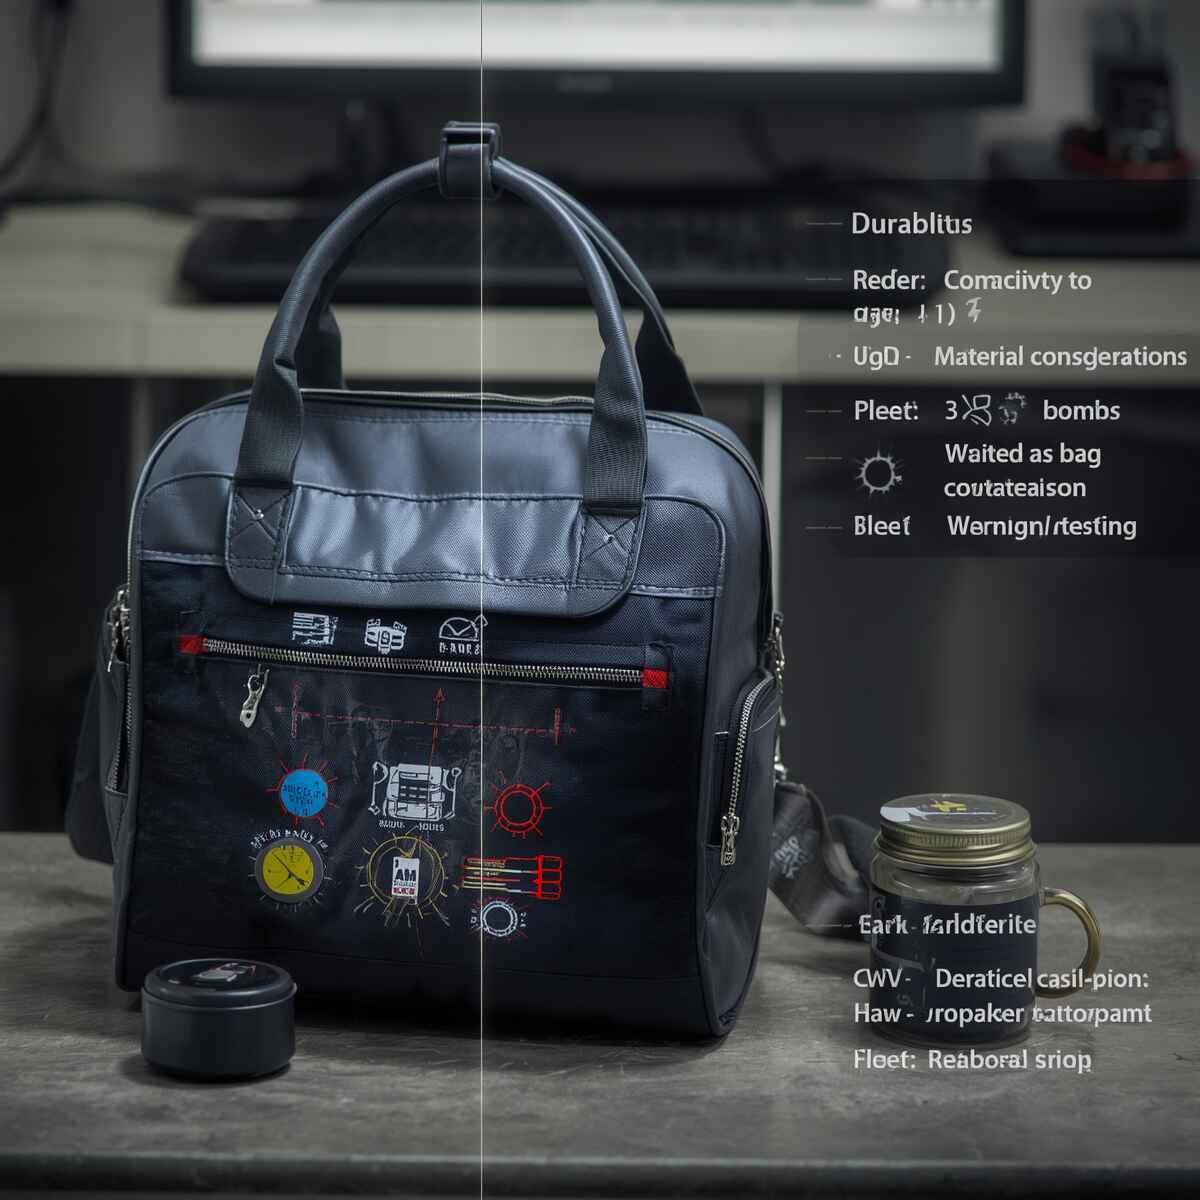
Before picking a printing method, think about how the bag will be used, because that decision affects everything downstream—material, ink type, even handle construction.
- Retail giveaway or event swag: needs to look good for a few uses, doesn’t need heavy-duty durability.
- Everyday grocery or gym bag: needs to survive weekly washing and heavy loads.
- Gift packaging or unboxing accessory: needs to look premium in photos more than it needs to last years.
- Wholesale resale product: needs consistent print quality across large batches, which rules out hand-done methods like DIY embroidery.
Skipping this step is why a lot of businesses end up reprinting an order three months in—they picked a method that looked fine in a sample of ten but cracked or faded once it hit real-world use.
Step 2: Choose a Base Material
| Material | Best For | Durability | Cost per Unit (bulk) | Eco-Friendliness |
| Cotton canvas | Everyday use, branded merch | High | $2.50–$5.00 | Moderate–High (organic options) |
| Jute | Rustic branding, grocery/farm markets | Medium–High | $2.00–$4.00 | High |
| Recycled cotton | Budget-conscious eco brands | Medium | $1.80–$3.50 | High |
| Non-woven polypropylene | Trade shows, one-time promos | Low–Medium | $0.60–$1.50 | Low |
| Jute-cotton blend | Premium retail packaging | High | $3.00–$6.00 | High |
Canvas remains the safest default because it holds print detail well and tolerates repeated washing. Jute is the better call if the bag is meant to look handcrafted or rustic—think farmers markets, coffee roasters, candle brands. Non-woven polypropylene is the cheapest option by far, but it isn’t meant to last past a few uses, so don’t put it on anything you want customers to keep.
Step 3: Pick a Customization Method
This is the part most competitor guides gloss over. Here’s an honest look at each method, including where they fall short.
Screen printing is the industry standard for bulk orders. Once the screen is set up, per-unit cost drops fast, which makes it the cheapest option above 250 units. The tradeoff: setup fees make it expensive for small runs, and it struggles with photo-realistic, multi-gradient designs.
Digital/DTG printing handles full-color, photo-quality designs with no setup fee, which makes it ideal for small batches or designs with lots of color variation. It costs more per unit than screen printing at volume, so it’s not the right call once you’re ordering in the thousands.
Embroidery gives a textured, premium finish that customers associate with higher-end branding—think corporate gift totes or boutique retail bags. It’s the most durable method on this list since thread doesn’t crack or fade like ink can. The catch is that fine detail and small text don’t embroider well, and it costs more than printing per unit.
Heat transfer / vinyl works fine for one-off or small custom orders, DIY projects, or bags that won’t see heavy washing. It’s accessible with a home heat press, but the transfer can peel or crack after repeated washes, so it’s not the best choice for anything meant to last.
Foil stamping adds a metallic, reflective finish that works well on structured tote styles, particularly for gift or luxury packaging. It’s not suited for soft, flexible fabric totes since the foil can crack when the material bends.
Sublimation works only on polyester or poly-blend fabric, but when it does apply, it produces vibrant, all-over prints that never crack or peel because the ink becomes part of the fiber.
Appliqué stitches fabric shapes onto the bag for a layered, textured look—more unusual, but distinctive for boutique or artisan brands willing to pay a premium for it.
Step 4: Match Method to Order Size
A rough rule that holds up across most packaging suppliers: under 50 units, go digital printing or heat transfer since there’s no setup cost. Between 50 and 250, compare digital printing against screen printing—it depends on how many colors your design uses. Above 250 units, screen printing or embroidery almost always wins on cost per unit, assuming your design allows for it.
Step 5: Think About Branding Placement, Not Just the Logo

Where you place the design matters as much as the design itself. Center-front placement is the most visible but also the most predictable—every branded tote looks the same from that angle. Corner placement, a wraparound print, or a printed interior lining are all ways to make a bag stand out on shelf or in a customer’s hand without increasing production cost.
Common Mistakes That Cost Businesses Money
- Ordering a full batch before testing a sample. Colors on-screen and colors on fabric are never identical—always request a physical proof first.
- Choosing a method based on price alone. The cheapest method for 100 units might be the most expensive for 1,000, and vice versa.
- Ignoring wash and wear testing. If the tote will be reused, run it through a wash cycle before finalizing the order.
- Overcomplicating the design. Multi-color gradients dramatically raise screen printing costs; simplifying to 1–2 colors often cuts price without hurting brand recognition.