
Cardboard fails in water for a simple reason: it’s built from cellulose fibers pressed together, and cellulose is hydrophilic — it pulls in moisture the way a paper towel does. Once water gets between those fibers, the bonds holding the sheet together loosen and the box loses its stacking strength within minutes, not hours. That’s why a soaked shipping box collapses under its own contents even if it looked fine when it left the warehouse.
Waterproofing doesn’t change what cardboard is made of. It blocks water from reaching the fibers in the first place. Depending on the method, that barrier can be a coating brushed on by hand or a laminate applied on a production line before the box is even die-cut. Below are nine methods that work, what each one actually costs to run, and which one fits a given use case — whether that’s a weekend DIY project or a packaging line shipping thousands of units a month.
Why Cardboard Loses Strength When It Gets Wet
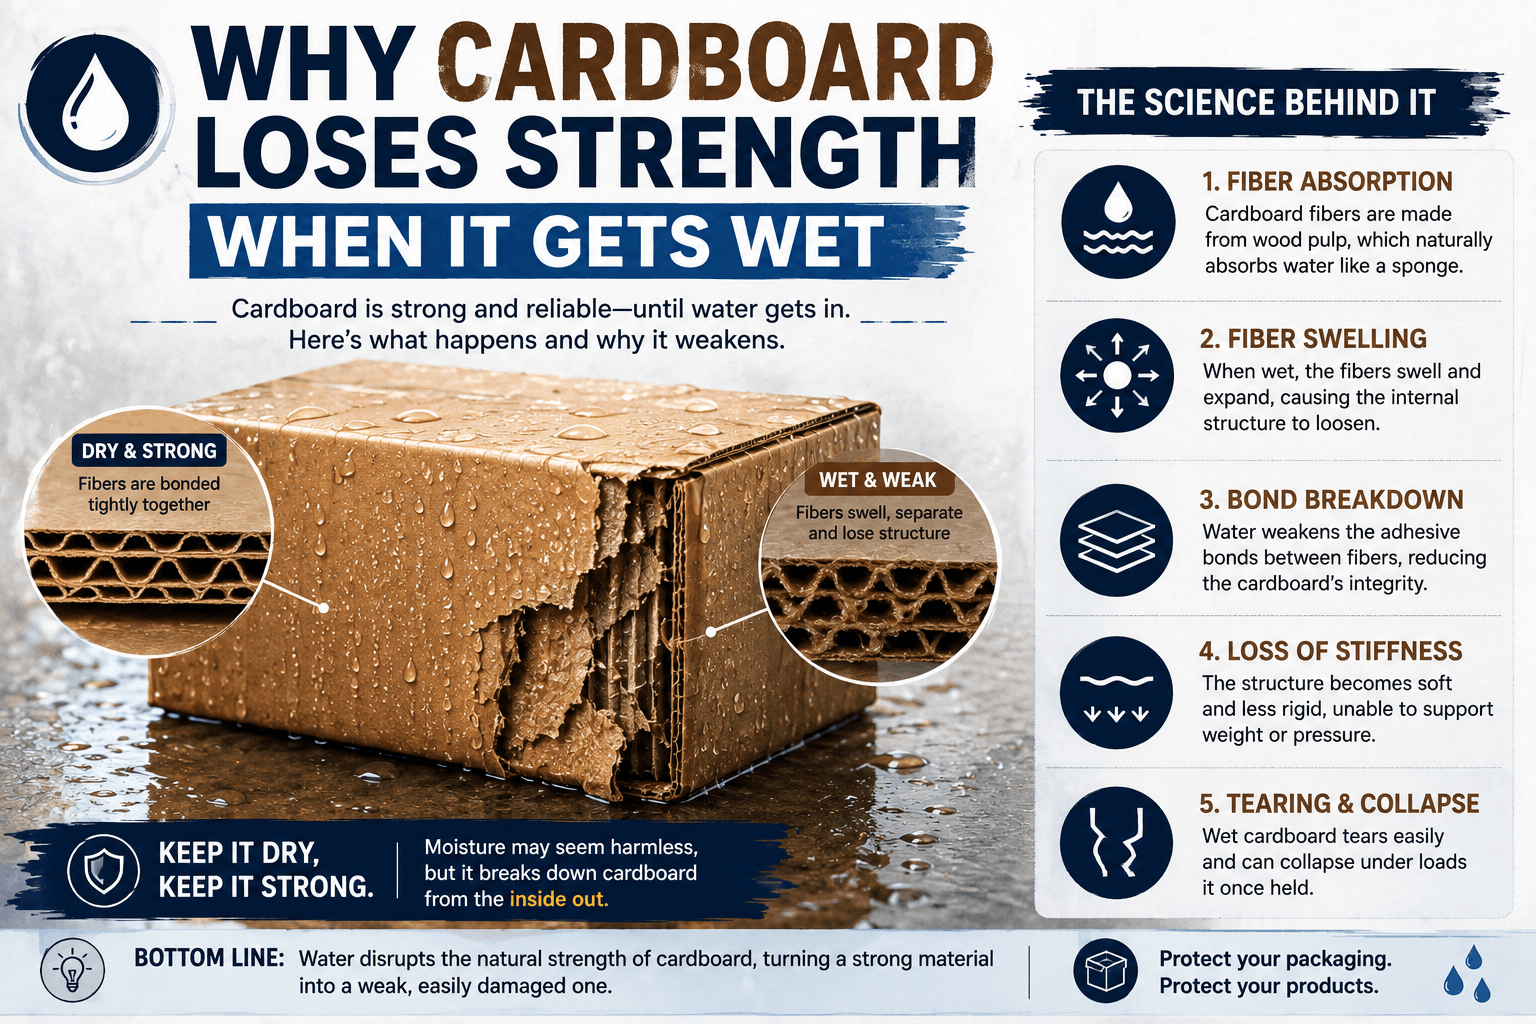
Corrugated cardboard gets its rigidity from hydrogen bonds between cellulose fibers, reinforced by the fluted layer sandwiched between the liner boards. Water molecules break those hydrogen bonds and replace them with looser bonds to the water itself. The fiber swells, the sheet softens, and the flutes that give a box its crush resistance start to buckle. Independent compression testing on wetted corrugated board has shown strength losses of 50% or more after just a few minutes of direct contact with water — long before the box looks visibly damaged.
This matters for anyone shipping physical products: a box doesn’t need to be submerged to fail. Condensation inside a shipping container, a damp loading dock, or a few hours in transit during rain is enough to compromise an unprotected box.
9 Ways to Waterproof Cardboard
1. Wax Coating (Paraffin or Beeswax)
Wax is the oldest waterproofing method for cardboard and still one of the most reliable for food-safe applications. Paraffin wax is melted in a double boiler and either brushed on or the cardboard is dipped directly into the melted wax. Beeswax works the same way and is biodegradable, though it’s softer and leaves the board more flexible than paraffin.
How to apply it:
- Melt the wax slowly using a double boiler — never direct heat, which can scorch the wax or start a fire.
- Dip the cardboard fully for even coverage, or brush it on in thin layers if dipping isn’t practical.
- Let each layer harden completely before adding a second coat. Two thin coats outperform one thick one.
Where it falls short: wax softens and can re-liquefy in high heat, so it’s a poor fit for anything shipped through hot climates or stored near heat sources.
2. Acrylic Coating
Acrylic sealant is sprayed or rolled onto the surface and dries into a clear, flexible film. It’s one of the more eco-friendly options since it’s water-based rather than solvent-based, and it doesn’t change the surface much, which matters if the box is printed.
Apply it in thin, even layers with a roller or sprayer, letting each coat dry fully — usually 20 to 30 minutes — before adding the next. Two to three coats give solid moisture resistance without making the board stiff or brittle.
3. Silicone Coating
Silicone forms a flexible, water-repellent skin over the cardboard and holds up better than wax under temperature swings. It’s a strong option for anything that needs to survive both humidity and heat.
The tradeoff is recyclability — silicone-coated cardboard is harder for recycling facilities to process than uncoated board or some of the plastic-laminate alternatives, since separating the two materials isn’t straightforward.
4. PVA Glue and Water Mixture
This is the cheapest method on the list and the most accessible for small, one-off projects. Mix PVA glue with water in roughly equal parts and brush it onto the surface.
Steps:
- Mix equal parts PVA glue and water until fully blended.
- Apply an even coat with a brush.
- Let it dry completely — the glue dries clear, so it won’t change the box’s appearance.
- Add a second, slightly more concentrated coat once the first has cured, and a third for anything that will see repeated water exposure.
It’s not built for long-term outdoor use or heavy shipping volume, but for craft projects, prototypes, or short-term storage it’s hard to beat on cost.
5. Plastic Lamination
Lamination bonds a thin polyethylene or polypropylene film to the cardboard surface, either during manufacturing or by hand with an adhesive and a plastic sheet. It’s the most durable barrier on this list and the standard choice for retail and shipping boxes that need to hold up in transit.
Done by hand: apply adhesive evenly, press the plastic sheet onto the surface working from the center outward to avoid trapping air, then smooth out bubbles and trim the excess. Getting a bubble-free finish by hand takes practice — this is one method where machine lamination on a production line consistently beats a DIY attempt.
6. Waterproofing Spray
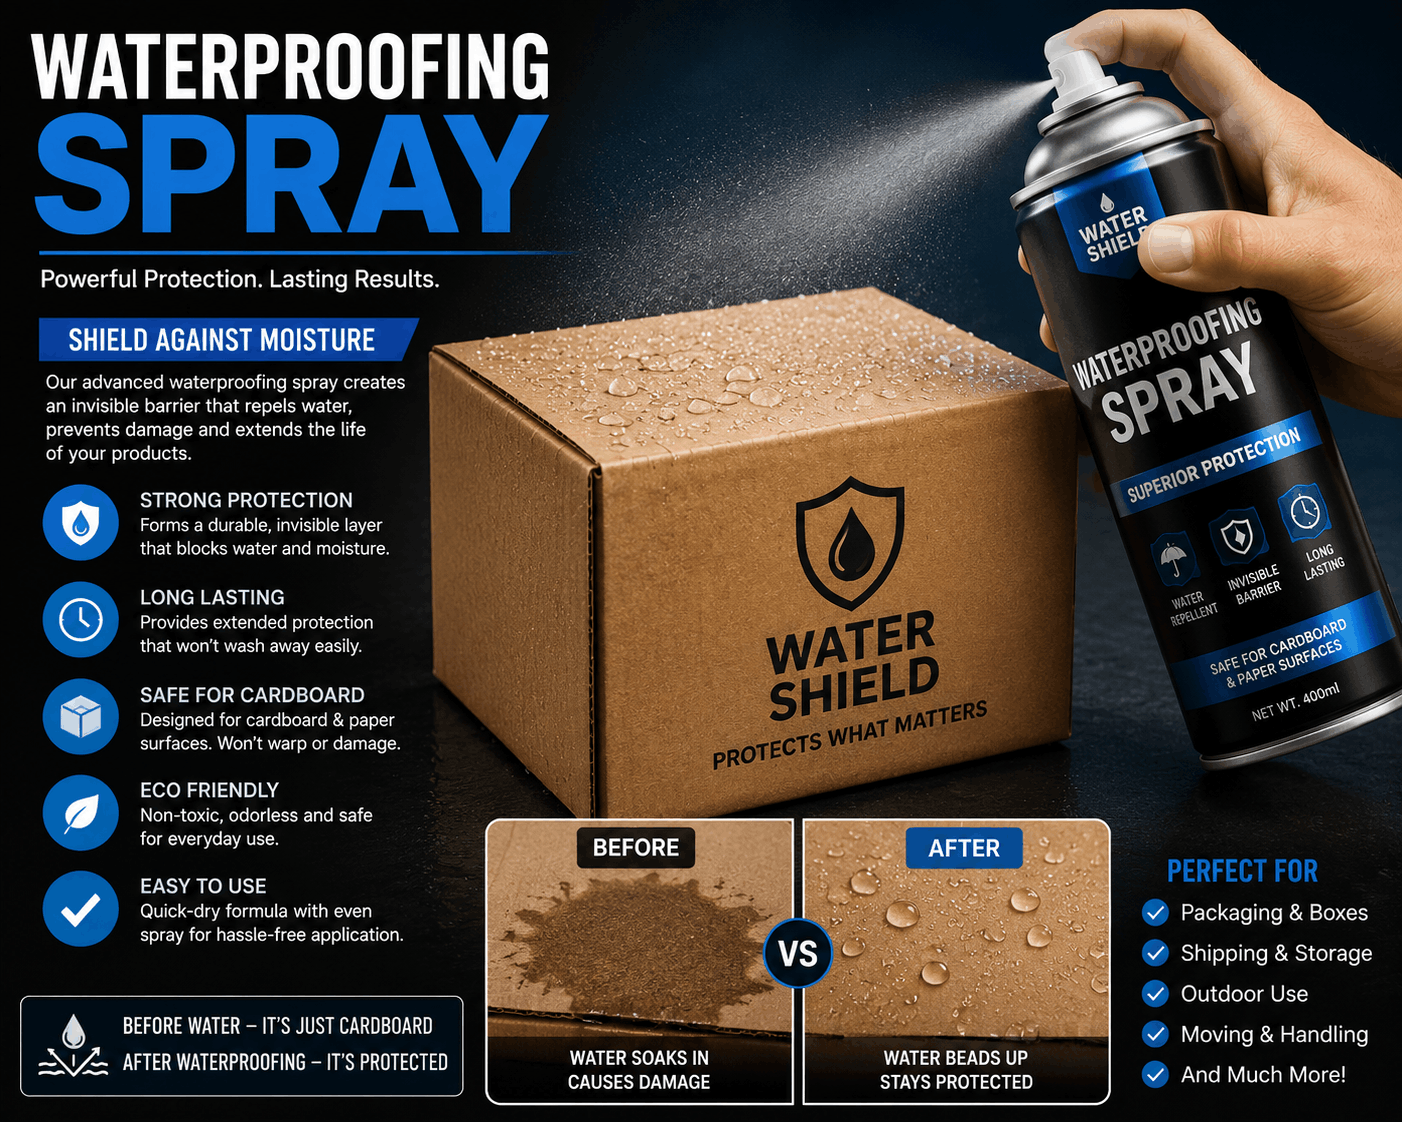
Spray-on sealants — usually silicone-, acrylic-, or rubber-based — are the fastest method to apply and require no special equipment beyond the spray can itself.
- Clean and dry the cardboard fully before spraying; dust or residue under the coating creates weak points.
- Work in a ventilated area and hold the can 8–10 inches from the surface.
- Spray in even passes, paying extra attention to corners, seams, and flap edges, which fail first.
- Let the first coat dry fully, then apply a second.
Sprays are convenient but tend to need reapplication sooner than a coating or laminate, and some formulas leave a slightly tacky residue.
7. Fiberglass Resin
Fiberglass resin is the heavy-duty option — mixed with a hardener and brushed on, it cures into an extremely rigid, highly water-resistant shell. It’s overkill for a shipping box but genuinely useful for outdoor storage bins, planters, or anything that needs to survive repeated soaking over years rather than a single trip through the mail.
It requires gloves, ventilation, and careful mixing to the manufacturer’s ratio — get the ratio wrong and the resin either won’t cure or stays tacky. It’s also the most expensive method here by a wide margin.
8. Wax Paper Wrapping
Wrapping cardboard in wax paper is closer to a moisture barrier than a true coating, but it’s fast and requires no drying time. It works well as a supplementary layer — wrapped around products before they go into a box, or as light protection for short-term storage — rather than as standalone waterproofing for the box itself.
9. Water-Resistant Poly Bag Liners
For shipping specifically, a poly bag liner inside the box does something none of the surface treatments do: it protects the contents even if the box itself gets soaked through. This is standard practice for apparel, food, and electronics shippers who can’t risk moisture reaching the product, and it’s often combined with one of the surface coatings above rather than used alone.
Comparing the Methods
| Method | Cost | Durability | Best For |
| Wax coating | Low | Moderate (weak in heat) | Food packaging, short shipping runs |
| Acrylic coating | Low-Moderate | Good | Printed retail boxes, general shipping |
| Silicone coating | Moderate | Good (heat-stable) | Boxes facing temperature swings |
| PVA glue mix | Very low | Low | Crafts, one-off projects |
| Plastic lamination | Moderate-High | Excellent | High-volume shipping, retail boxes |
| Waterproofing spray | Low | Moderate | Quick jobs, small batches |
| Fiberglass resin | High | Excellent | Outdoor storage, long-term reuse |
| Wax paper wrap | Very low | Low | Supplementary protection |
| Poly bag liner | Low | N/A (protects contents, not box) | Apparel, food, electronics shipping |
Choosing the Right Method for Your Business
For a one-time craft project, PVA glue or a waterproofing spray gets the job done cheaply. For anything shipped at volume, the calculus changes — the box needs to survive loading docks, delivery trucks, and whatever weather shows up between origin and destination, and a hand-applied DIY coating usually isn’t consistent enough at scale.
That’s where plastic lamination and acrylic coatings applied during manufacturing earn their cost. They’re built into the box before it’s printed and cut, so every unit gets identical protection instead of relying on how evenly someone brushed on a coating. If the product inside is moisture-sensitive on its own — food, electronics, textiles — pairing a laminated or coated exterior with a poly liner inside covers both failure points: the box getting wet, and the contents getting wet if it does.